


RESTRING A DOLL
|
|
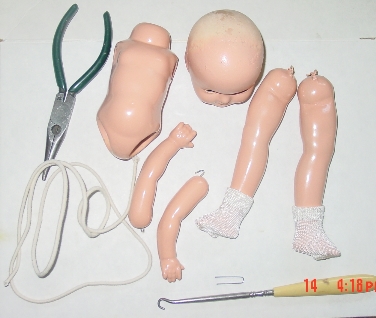
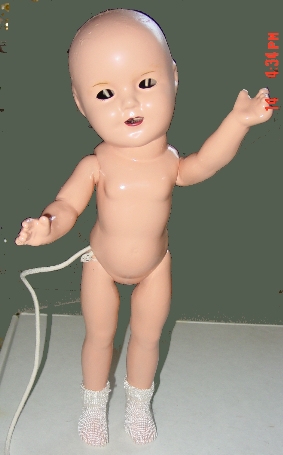
Here's the project. Besides the arms, legs, body, and head, I've assembled the cord, needle nose pliers, a button hook, a piece of a large paper clip, and somehow, my scissors didn't get into the photo. |
|
|
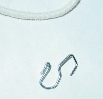
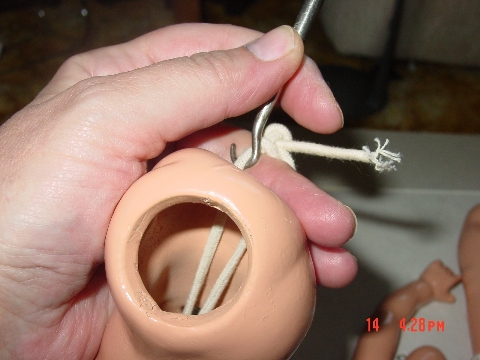
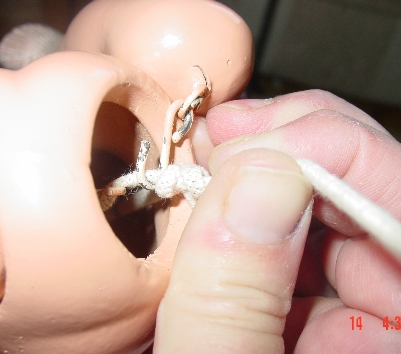
Because there's no hook on the V shaped wire inside the doll's head, I used my pliers to make one out of that piece of paper clip. I've made nice looking ones, but this will do. |
|
|
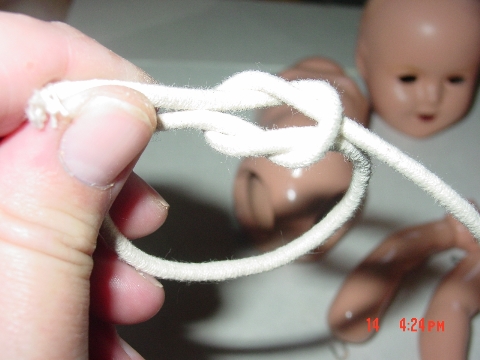
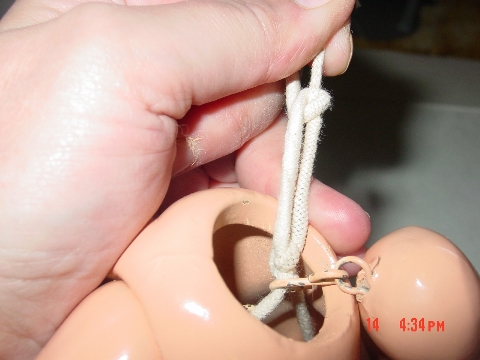
First, I make a loop about 2/3 the size of the doll's body and tie a shqare knot as shown. |
|
|
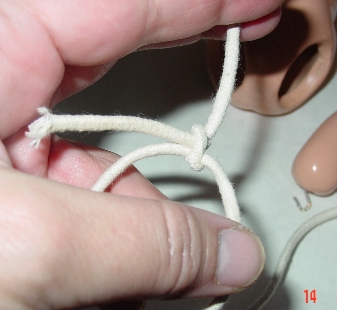
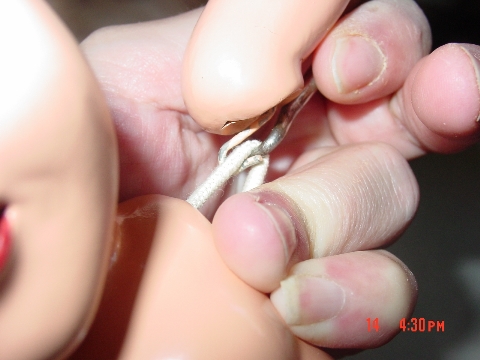
Now pull the long end of the cord up and away from the loop. |
|
|
When I pull it so the cord until the knot turns, I have a slip knot. If this doesn't work, it's because my square knot is not tied properly. |
|
|
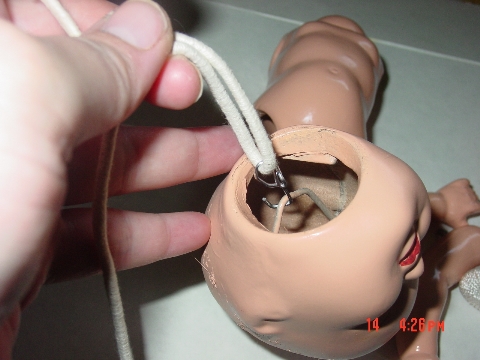
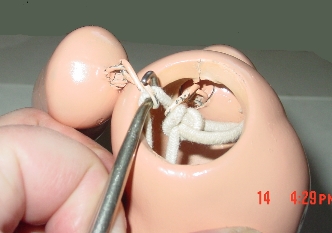
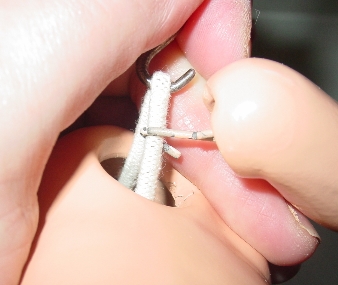
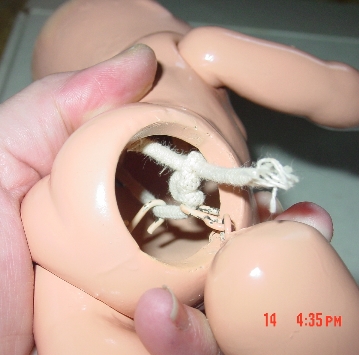
Now that I have a loop 2/3 the size of the doll tied with a slip knot, I put the hook on the loop and then onto the V wire in the doll's head. If there had been no wire in the doll's head, I'v have made made one from a coat hanger, making sure the V is up out of the way of the eye counterweight and that it doesn't put too much stress on the head. Inside the head are two dimples on the seam where the tops of the V should be. Happily, the V wire is still in this head so I just want to attach the cord to the V via the hook. Often I see people just tie the cord directly over the V wire. This is not good. It keeps the head from posing properly, so make a hook. |
|
|
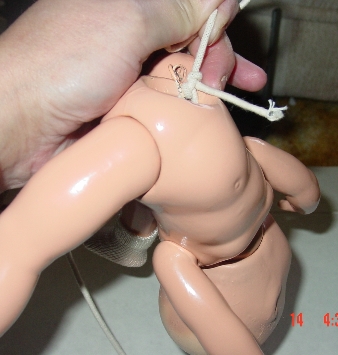
Next I use the button hook up through one leg socket and out the neck to draw down the loop. |
|
|
Holding the loop with the button hook, |
|
|
I hook on the leg. |
|
|
Now I pull the loop out the other leg socket and hook on the other leg. It's important that the knot NOT be between the two leg hooks. |
|
|
Next I use the button hook to pull the loop out an arm socket and hook on an arm. |
|
|
And then on the other socket, the other arm. |
|
|
Now the doll is together but pretty loose. I use the button hook to get the knot out of the leg socket. |
|
|
Holding the knot, pull the long end up until the stringing is firm. I test this by posing the doll |
|
|
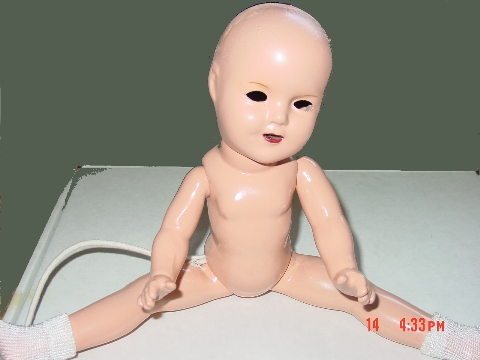
The stringing should be loose enough to let the doll sit easily. |
|
|
And tight enough to let the doll stand and pose her arms and head. If the stringing is too loose, she won't be able to hold up her arms or stand. If it's too tight, pressure on the joints will eventually split the head and the body, and the doll won't be able to sit (it's a good test). |
|
|
Once the slip knot has given me the right tension, it's necessary to tie one more knot over it to keep it from slipping out of position. |
|
|
Pull up the knot and tie the simple knot over the slip knot. |
|
|
And then tighten and clip the ends of the cord about 1" from the knot. |
|
|
Done! |
|
|
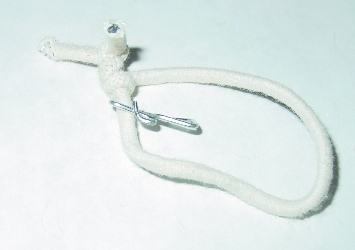
Since I string dolls this size often, I'm saving myself some future work by taking the pieces off the center loop and use it as a reference to make more of these for the future. This will save me from having to resize the loop on the next doll but since hooks and dolls vary, I might want to hold off on that final knot over the slip knot so I can easily adjust the tension for each doll. |